DIY Tips for Preparing Your Home for Professional Photography


Declutter and Clean
One of the first steps in preparing your home for professional photography is to ensure that it is free from clutter. Start by removing any unnecessary items from the rooms that will be photographed. This includes personal items, excessive decor, and anything that might distract from the main features of the space.
After decluttering, a thorough cleaning is essential. Dust surfaces, vacuum floors, and wipe down windows to make sure everything looks pristine. Pay special attention to reflective surfaces like mirrors and glass as they can show spots and fingerprints in photos.
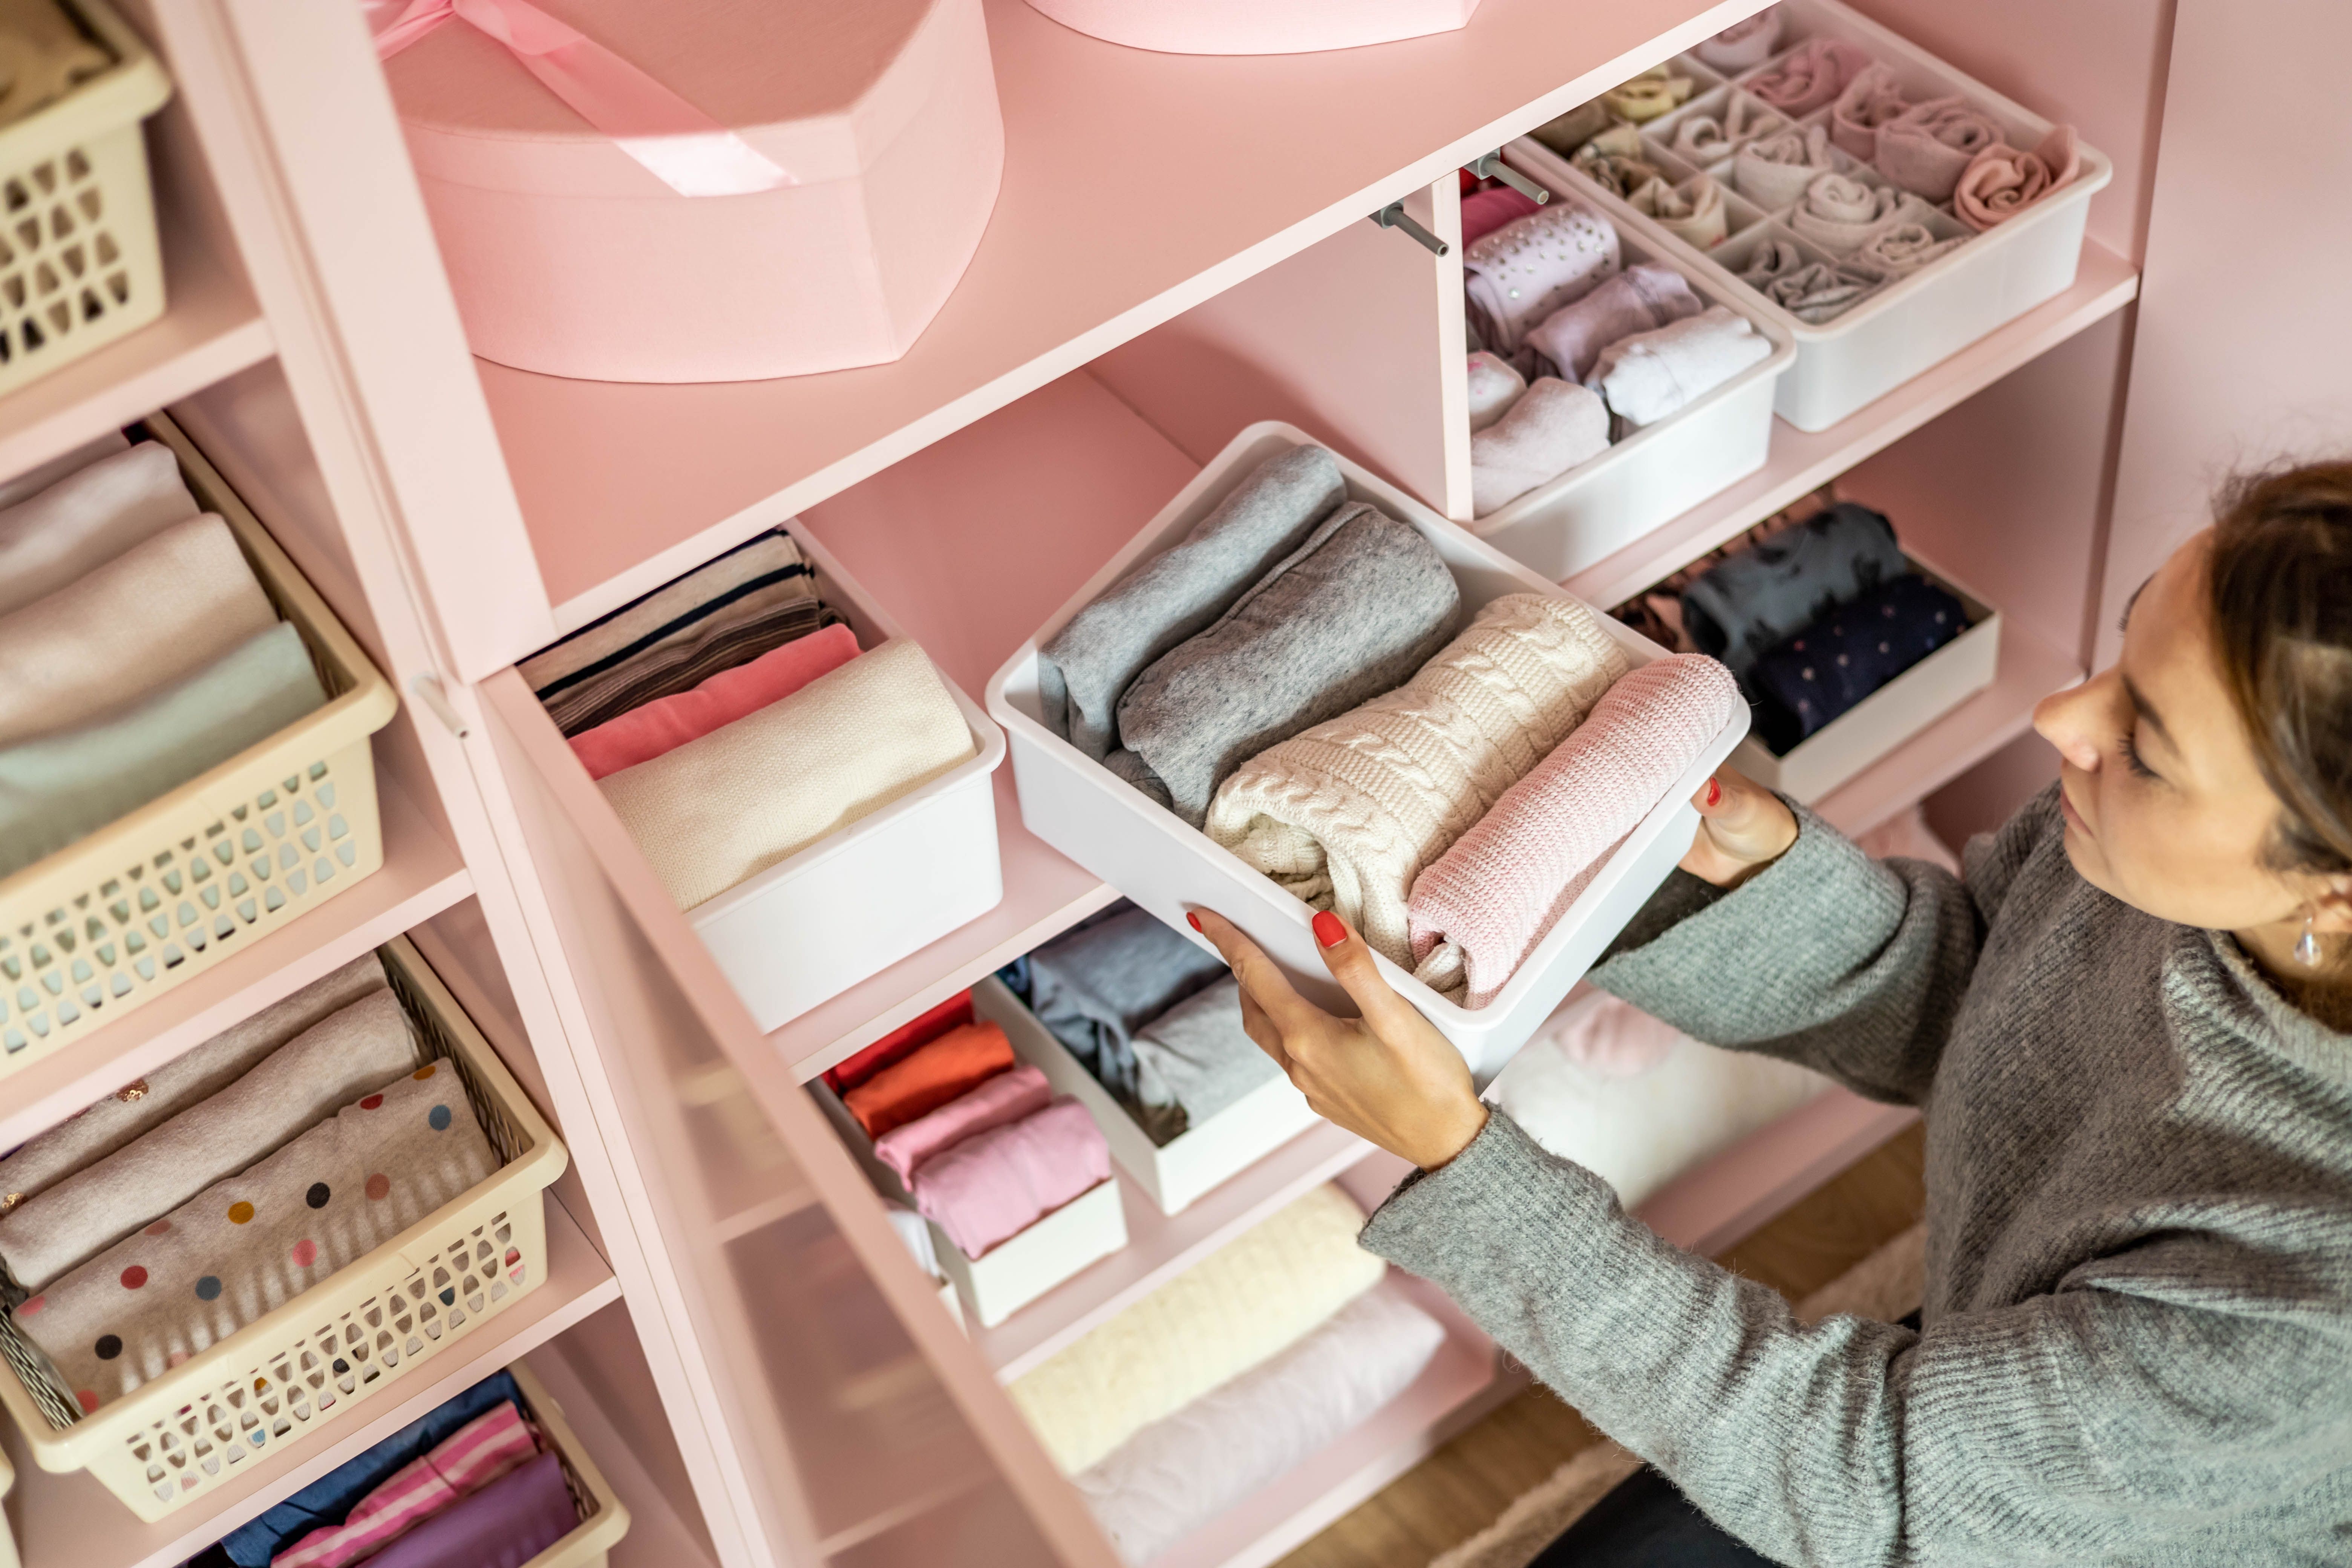
Remember, a clean and tidy environment not only looks better in photos but also allows the true beauty of your home to shine through. Consider hiring a professional cleaning service if you find the task overwhelming.
Enhance Lighting
Lighting plays a crucial role in photography. Natural light is your best friend when it comes to capturing beautiful images of your home. Open curtains and blinds to let in as much sunlight as possible. Move furniture or decor that might obstruct natural light sources.
If natural light is limited, consider using artificial lighting to brighten up spaces. Use lamps and overhead lights strategically to create a welcoming ambiance. Ensure all bulbs are working and replace any that are dim or burned out.

In areas with less natural light, consider adding mirrors to reflect and amplify existing light, helping to make the space appear larger and more inviting.
Focus on Key Areas
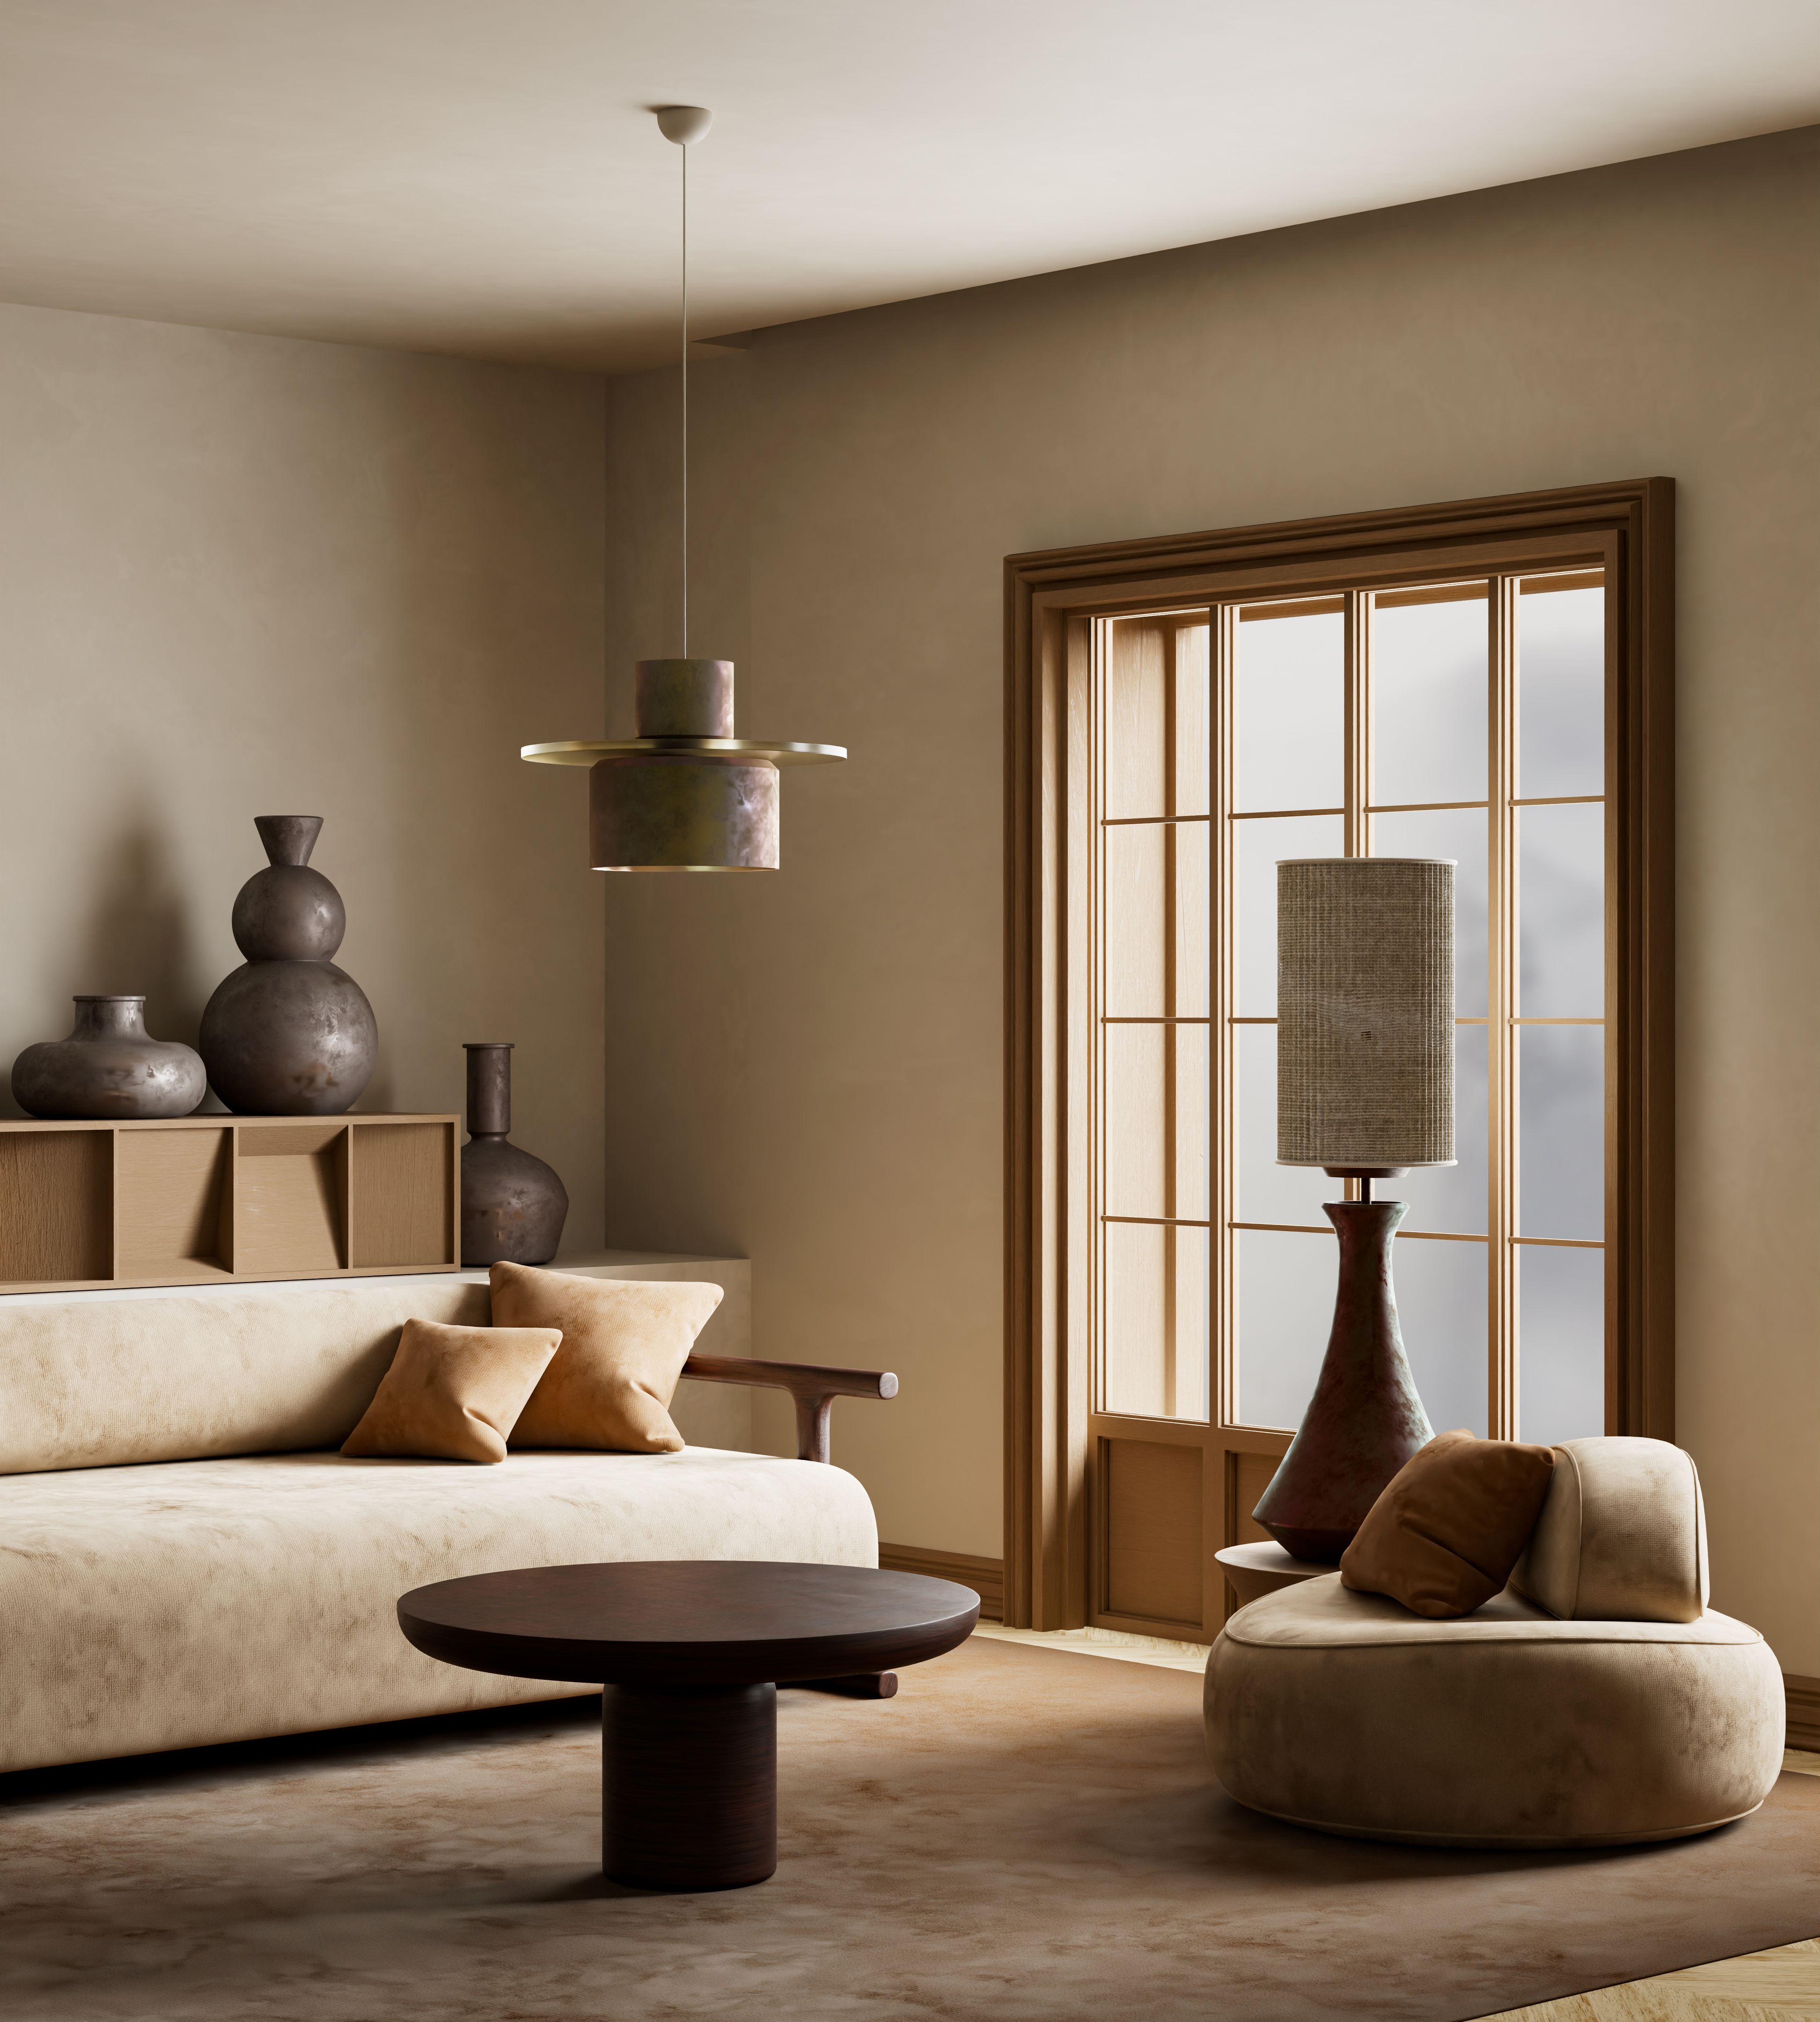
When preparing your home for professional photography, consider which rooms or areas you want to highlight. Typically, living rooms, kitchens, and master bedrooms are focal points as they often serve as selling features.
In the kitchen, clear off countertops to showcase space and cleanliness. Arrange fresh fruits or flowers for a touch of color and liveliness. In living areas, arrange furniture to create a cozy conversation area. Add a few accent pillows or throws for warmth and texture.
For bedrooms, ensure beds are made with smooth linens and add decorative pillows for an inviting look. Keep personal items out of sight to maintain a clean, neutral space.
Highlight Architectural Features
Architectural features such as fireplaces, built-in shelving, or unique moldings should be highlighted in your photos. Clear any obstructions around these features so they can be easily captured by the photographer.
Consider using accent lighting or decorative elements to draw attention to these features. For example, place a few well-chosen books or art pieces on built-in shelves to enhance their appearance without overwhelming the space.
Add Finishing Touches
Before the photography session, add some finishing touches to ensure your home looks its best. Fresh flowers or greenery can add life and color to any room. Choose neutral or complementary colors that won't clash with your existing decor.
Pay attention to small details such as arranging furniture symmetrically or aligning picture frames on walls. These minor adjustments can make a significant difference in the overall presentation of your home.
Finally, take a moment to walk through your home with a critical eye or ask a friend for their opinion. Fresh perspectives can help you spot areas that need adjustment before the photographer arrives.